A full face pimple patch sounds like the answer to waking up before a wedding with three new breakouts, but the phrase can mean several different things. Some people mean a large patch sheet. Others mean covering multiple spots with individual hydrocolloid stickers. After more than 200 faces and a lot of early call times, I prefer the second approach. It gives you better control, sits more cleanly under makeup, and does not trap unaffected skin under adhesive.
What a full face pimple patch actually does
A hydrocolloid patch is a small, absorbent dressing designed to protect a surface-level blemish from fingers, friction, and makeup brushes. When it contacts fluid from an opened or white-tipped pimple, the material can turn cloudy and swollen. That visible change is not the patch pulling every impurity from deep inside your skin. It is absorbing moisture while creating a covered environment.
That distinction matters. A full face pimple patch can be useful for a whitehead, a blemish you accidentally picked, or a spot that keeps catching on your pillowcase. It is not a magic eraser for a deep, painful cyst under the skin. Those bumps generally need time and a calmer routine, not aggressive squeezing or a sticker layered with five strong acne ingredients.
For a makeup client, my favorite use is overnight protection. Clean skin, one properly sized patch, and hands away from the face can make the next morning less inflamed and less textured. If a breakout is spreading, unusually painful, or leaving persistent marks, a dermatologist is a better resource than a bigger sticker.
How to choose the right patches
Look for plain hydrocolloid when your priority is protection and gentle absorption. Hero Cosmetics Mighty Patch Original, COSRX Acne Pimple Master Patch, and inexpensive store-brand hydrocolloid dots are familiar options in this category. Prices commonly run from about $6 to $15 per pack, depending on the number of patches and sizes. The $6 option can perform perfectly well; a higher price does not automatically mean better skin results.
Use patches with salicylic acid or tea tree only when your skin already tolerates those ingredients. They can be helpful for an oily, congested spot, but they are more likely to sting on scraped skin. Microneedle patches are a separate product. They are made for intact skin and are marketed for deeper blemishes, but they should not be pressed into an open wound or used as an excuse to pick.
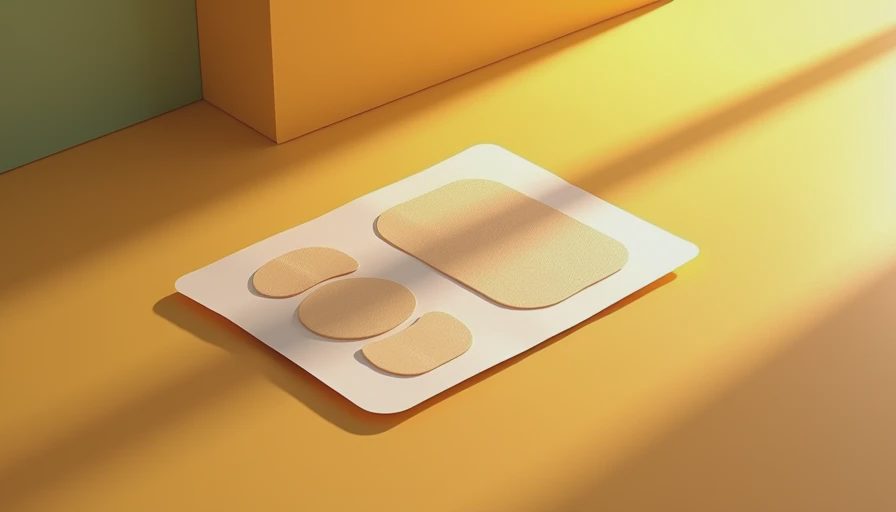
Size is part of the technique. The patch should cover the blemish with a small margin, not half your cheek. A 10-millimeter dot works for a single whitehead; larger circles make sense when two spots are close together. If the edge lands over facial hair, dry flakes, or a heavy moisturizer, it will lift early.
My application method before makeup
Start with a gentle cleanser and lukewarm water. Pat dry with a clean towel, then wait until the skin is completely dry. Do not apply serum, facial oil, sunscreen, or moisturizer underneath the patch. Adhesive needs clean, dry skin, and leftover slip is the fastest route to a sticker sliding across your face.
Place the patch directly over the spot and press the center for five seconds. Smooth the edge with a clean fingertip. Leave it on for the time listed by the manufacturer, usually several hours or overnight, then remove it slowly from one edge. If the patch has turned white or visibly swollen, replace it with a fresh one rather than layering another sticker over the old material.
For a full face pimple patch routine, I map the face before applying anything. I use one small dot on each active blemish instead of creating a shiny constellation across the cheeks. This saves product, protects the skin that actually needs protection, and keeps the morning makeup application realistic.
Can you wear one under foundation?
Yes, but timing and texture decide whether it looks intentional or like a tiny piece of tape. Apply the patch to bare, dry skin first. Let it sit for at least 20 to 30 minutes if you are getting ready in a hurry. Then tap a thin layer of gripping primer around the patch, not over it. Silicone-heavy primers and thick cream foundation can catch on the edge and make it obvious.
Choose a thin, low-profile patch with a matte or translucent finish. Avoid placing it where a smile line, mask edge, or glasses arm will rub constantly. For coverage, use a damp sponge and press foundation around the sticker. Do not drag a brush across the edge. A small synthetic concealer brush is useful for tapping product nearby, while a dense buffing brush tends to lift the adhesive.
A full face pimple patch is most discreet under medium or full coverage when the spot is on relatively flat skin. On the tip of the nose, a crease beside the mouth, or a raised cheek texture, the edge will be harder to hide. In those cases, I would rather use a thin layer of concealer around the area and leave the patch for nighttime.
What not to put on top
Do not cover a patch with facial oil and expect it to stay put. Oil breaks down the grip and can migrate into the surrounding makeup. Skip exfoliating acids directly under or over the sticker, and do not combine a patch with a harsh spot treatment unless the package specifically says the products are compatible.
Do not cut a large patch with unclean scissors and reuse the leftover piece. That introduces unnecessary contamination. Do not apply a sticker to a rash, a cold sore, or skin that is reacting to a new product. Acne patches are not a substitute for treating an infection or an allergic reaction.
Also, remove the patch before a professional makeup appointment unless your artist asks you to keep it on. Adhesive residue can create a slick ring that foundation clings to. I have had better results treating the spot overnight, cleansing gently in the morning, and giving the skin 10 minutes to settle before primer.

My practical verdict for different breakouts
For a fresh whitehead, a plain hydrocolloid dot is the first product I reach for. It protects the area and discourages the late-night picking that usually creates more redness than the original blemish. For a deep, tender bump, use a cool compress for a few minutes, keep the routine simple, and do not expect a sticker to flatten it by breakfast.
For several small spots across the forehead, individual patches are easier to position than a large sheet. A full face pimple patch can be worth considering when the product is genuinely designed for broad coverage, but inspect the adhesive area and ingredients first. Large adhesive surfaces are more likely to feel uncomfortable or irritate sensitive skin.
If makeup is the priority, apply the patch the night before and remove it before your base routine. If protection is the priority, wear it overnight on clean skin and replace it when the patch becomes cloudy, loose, or dirty. That simple schedule delivers more reliable results than leaving one sticker on through an entire day of sweat, sunscreen, and foundation.
I have tested plenty of trendy products, and the winners are rarely the loudest ones. A thin patch, clean skin, realistic expectations, and careful removal beat a complicated routine almost every time. If I wouldn't put it on a bride, I won't tell you to put it on your face.




No notes yet — write the first one.