A holographic spf foundation buffing brush can look like a gimmick, but the right one is just a dense, synthetic face brush with a shiny handle. I care about how it moves cream and liquid across skin, not whether it catches the bathroom light. On a real face, especially when I am working over sunscreen and tinted base, the goal is thin, even coverage that does not grab at dry patches or leave a stripe across the jaw. If I wouldn't put it on a bride, I won't tell you to put it on your face. That is the whole test here.
Why a holographic spf foundation buffing brush behaves differently from a fluffy one
A buffing brush sits in the middle between a flat foundation brush and a loose powder brush. It has enough density to spread product, but not so much softness that it just pushes liquid around forever. That matters with SPF foundation because these formulas often dry down faster than people expect. Tower 28 SunnyDays, ILIA Super Serum Skin Tint, and bareMinerals Complexion Rescue all behave a little differently, but they share one thing: you need controlled pressure. A fluffy brush wastes product and can leave a speckled finish. A super dense kabuki can eat up your base and make texture show more.
The shiny handle is the least important part. The head is what counts. I want synthetic bristles that spring back when I tap them on the back of my hand, and I want a round or slightly domed edge so I can work around the nostrils and under the eyes. If the brush feels scratchy, it is a bad brush no matter how cute it looks on your vanity. In my kit, that usually means drugstore options like e.l.f. or Real Techniques can compete with brushes that cost three or four times as much, because the fiber shape does the work, not the price tag.
When I test a brush, I use it on combo skin, dry skin, and mature skin because those three faces tell me almost everything. If it leaves dry patches on the cheek or smears around the nose by hour six, it does not make the cut.
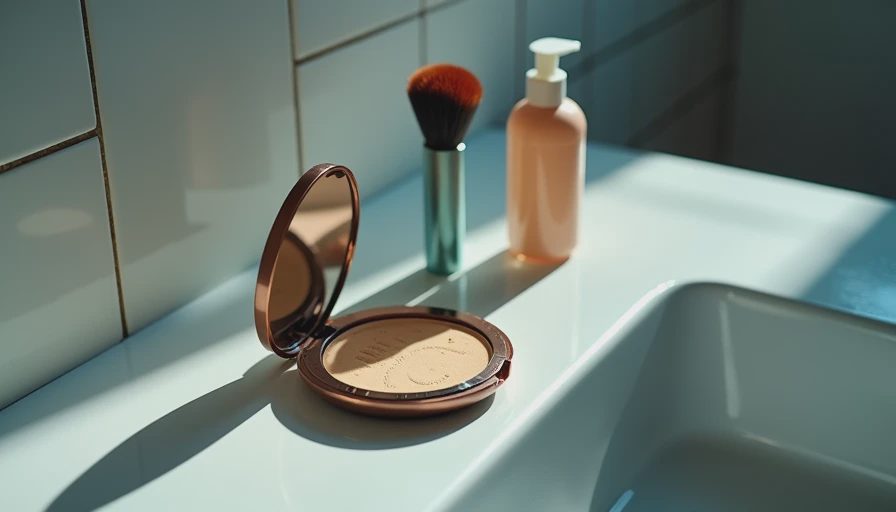
How I use a holographic spf foundation buffing brush on real skin
My method starts before the foundation even touches the brush. Sunscreen goes on first, then I wait a few minutes so the layer is not slippery. That step matters because a base that is still wet will slide around and make you use twice as much product. After that, I put a pea-sized amount of skin tint or SPF foundation on the back of my hand, tap the brush into it, and press the product into the center of the face first. Cheeks, nose, and chin get coverage before the perimeter, because that is where redness and uneven tone show up most.
Then I use short, tight buffing motions, almost like I am polishing a countertop. I do not drag the brush back and forth. I work in small sections, and I stop as soon as the skin looks even. That usually takes less product than people think. On a wedding morning, that approach saves at least one extra layer and keeps makeup from looking heavy in flash photos. On me, a well-made brush has stayed comfortable for a 12-hour wear day with only a touch-up around the nose and a little concealer under the eyes.
If the face is dry, I press instead of buffing hard. If the skin is oily through the T-zone, I keep the pressure lighter and use less product at the center of the forehead and around the nostrils. That is the difference between a polished finish and a mask.
Best product pairings when you want coverage, SPF, and speed
This brush works best with formulas that are meant to sit close to the skin. I like it with tinted moisturizers and serum foundations more than with thick matte liquids. Laura Mercier Tinted Moisturizer Natural Skin Perfector SPF 30, about $48, is a good example because it sheers out beautifully and still looks like skin. For more coverage, it also plays well with IT Cosmetics CC+ Nude Glow, around $47, when a client wants a brighter finish without the full-coverage feel of the original CC cream. If you want something lighter, the Maybelline Dream Fresh BB Cream and the L'Oréal True Match Nude Hyaluronic Tinted Serum are both budget-friendly options that buff out fast with the right brush.
For brush alternatives, I reach for the e.l.f. Ultimate Blending Brush at about $6 when I want an easy drugstore option, the Real Techniques Expert Face Brush around $9 for a little more control, and the IT Cosmetics Heavenly Luxe Complexion Perfection Brush when someone wants a softer, more luxurious feel. The expensive brush is nice, but it is not automatically better. On textured skin, the best tool is the one that deposits less product and lets me build coverage slowly. That is where a good buffing brush earns its keep.
Common mistakes that make the finish look streaky or cakey
The biggest mistake is using too much base at once. People see an SPF foundation and assume it should behave like moisturizer. It should not. It is still makeup, and the brush is designed to distribute a thin layer. If you load the brush until it is dripping, the product sits on top of pores and fine lines instead of settling into the skin. Another problem is using the brush right after a rich sunscreen. Silicone-heavy or very emollient SPF products can pill if you start scrubbing immediately.
I also see people over-buffing the nose and upper lip. That area needs light pressure, not a workout. When a client complains that their makeup disappears by lunch, it is often because they rubbed the center of the face until the coverage broke apart. A better move is to press, lift, and only buff the edges where the product needs to disappear into the jawline and hairline.
What I would tell a bride, a commuter, or anyone doing makeup in a hurry
For a wedding day, I want a brush that works fast, cleans easily, and does not shed onto a white dress or a suit jacket. Synthetic bristles are the move because they rinse clean without holding on to oil and pigments. If a brush keeps its shape after weekly washing with a gentle soap or brush cleaner, it is worth keeping. If it starts splaying after a few cleans, it goes in the graveyard drawer.
For everyday makeup, this kind of brush is most useful when you want one tool that can handle tinted sunscreen, skin tint, and even cream blush in a pinch. A commuter can throw it in a bag, use it with a stick foundation, and get out the door in five minutes. A bride can use it for controlled coverage without losing skin texture. That is why I pay attention to the head shape and bristle quality first. If you're shopping for a holographic spf foundation buffing brush, choose the head, not the handle.
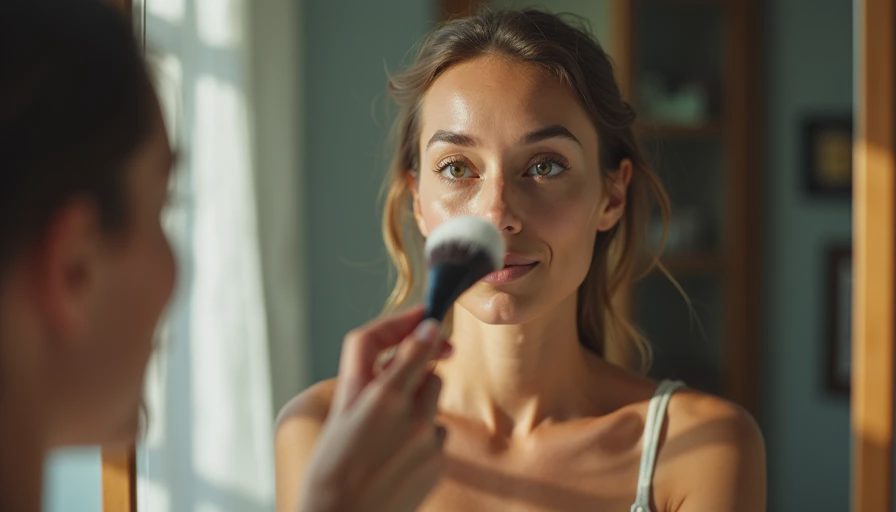
Final take on the brush, the base, and the wear test
I like anything that makes makeup easier, but I only trust tools that hold up on a full workday. This one needs to move product evenly, work with SPF base formulas, and keep the skin looking like skin after hours of heat, movement, and touch-ups. That is the standard in my kit, and it is the standard I use on my own face when I am leaving the house early and do not want to think about it again until dinner.
If you want the short version, buy a dense synthetic buffing brush, pair it with a lightweight SPF foundation, and keep your layers thin. A shiny handle is fine. Good application is better. If the brush lets you get that clean, close-to-skin finish without wasting product, it earns a spot on the vanity and in the travel bag.

No notes yet — write the first one.