If you want to know how to apply makeup to cover pimples, start by forgetting the instinct to pile on foundation. I have worked on more than 200 wedding faces, and the most convincing coverage always comes from thin layers, controlled placement, and a little patience. The goal is not to erase your skin's texture. It is to soften redness and discoloration so the whole face looks balanced, even in close-up photos.
Start with calm, clean skin
Before makeup touches a blemish, wash your face with a gentle cleanser and pat it dry. Do not scrub, squeeze, or use an aggressive acid right before applying makeup. Fresh irritation is harder to cover and more likely to become flaky under foundation. If a pimple is raised and tender, hold a clean, cool compress against it for a few minutes. That can temporarily reduce visible redness without adding another product layer.
Apply a light moisturizer and give it five minutes to settle. Vanicream Daily Facial Moisturizer is a sensible drugstore option, while CeraVe PM Facial Moisturizing Lotion works well for many normal-to-dry complexions. If your skin is oily, use less around the blemish and more on the drier perimeter of your face. A tacky, wet surface makes concealer slide; a completely dry, tight surface makes it crack.
If the spot is open, bleeding, or actively weeping, skip makeup on that area. Covering broken skin can trap irritation and make removal more painful. Use a clean hydrocolloid patch instead, or leave the area bare until it has closed. Makeup is not a treatment for acne, and a beautiful base is never worth making an angry spot worse.
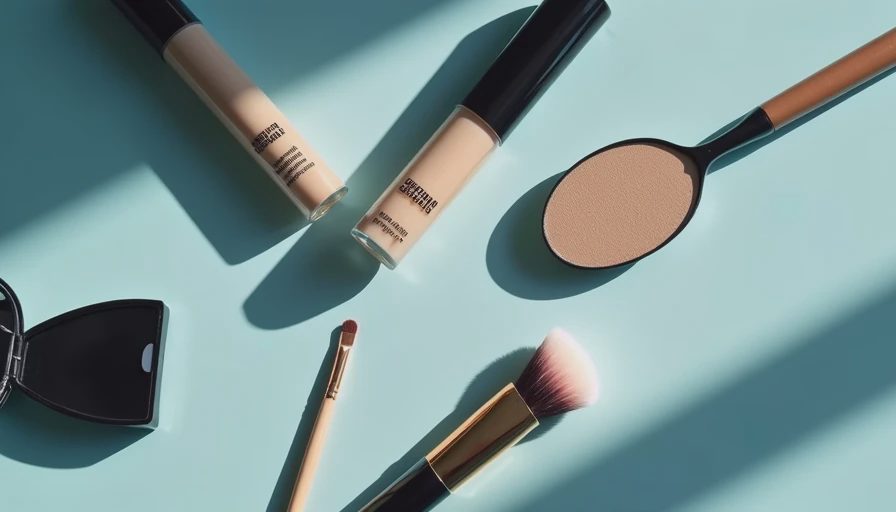
How to apply makeup to cover pimples with color correction
Look closely at the color of the blemish before choosing concealer. A bright red spot often needs a tiny amount of muted green corrector, while a brown or purple mark usually looks better with a peach or warm-toned corrector. This is not a full green mask. Use a pin-sized amount on a small synthetic brush and tap it only onto the center of the discoloration.
The most common mistake I see is applying corrector across half the cheek. That creates more product to blend and can leave a gray cast. After tapping, wait 30 seconds, then press a skin-toned concealer over it. Do not swipe. Swiping moves the corrector away from the spot and exposes the redness again.
For fair to light skin, a soft sage corrector can work on vivid redness. For medium to deep skin, a muted olive or terracotta-leaning corrector is often more believable than a pale mint shade. Shade matters more than the label on the tube, so test the color on your jaw or cheek rather than your hand.
Build coverage exactly where you need it
Choose a foundation with flexible medium coverage instead of an extremely thick formula for the entire face. L'Oreal Paris Infallible Fresh Wear is an affordable option with a thinner feel, while NARS Soft Matte Complete Foundation provides more concentrated coverage for event makeup. I have used both in professional kits, but neither should be spread heavily over every square inch of skin.
Apply foundation around the blemish first, keeping the center lightly covered. Then use a small, firm concealer brush to place one dot of concealer directly on the spot. Maybelline Fit Me Concealer is a useful low-cost choice for targeted work; NARS Soft Matte Concealer gives a denser finish when you need it. Let the dot sit for 20 to 30 seconds so the formula begins to set, then tap only the edges with your fingertip or brush.
This is the key to how to apply makeup to cover pimples naturally: the center receives coverage, while the borders disappear into the surrounding skin. If the blemish is still visible, repeat with another paper-thin layer. Two thin layers look far better than one thick mound, especially on a raised spot.
Set texture without making it look dry
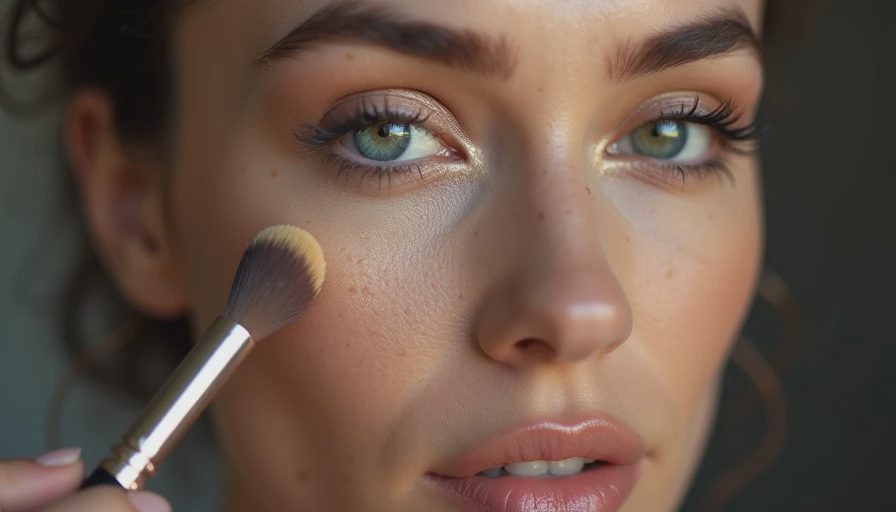
Powder is useful, but sweeping it over the whole face can emphasize texture. Use a small pointed brush or a clean cotton swab to press a tiny amount of translucent loose powder onto the concealer. Laura Mercier Translucent Loose Setting Powder is a professional staple, but e.l.f. High Definition Powder can also perform well for a much lower price. The application matters more than the logo.
Press the powder; do not buff it in circles. Give it about one minute, then dust away excess with a fluffy brush. If your skin is very dry, use powder only on the center of the blemish and skip the surrounding area. If you are oily, set the nearby nose and cheek area lightly as well, because natural oil can make the contrast between the covered spot and uncovered skin more noticeable.
A setting spray can help the finish look less powdery, but mist from about eight inches away and let it dry without touching your face. Avoid spraying directly at a fresh, raised blemish until the makeup is already set.
The technique for different types of pimples
A flat red mark is the easiest to cover. Correct the color, add a small amount of concealer, and set it. A raised pimple needs less product than you think because extra coverage cannot remove physical texture. Keep the surrounding foundation thin so the bump does not become the focal point.
A flaky blemish needs different handling. Do not rub the flakes off with a makeup sponge. Apply moisturizer around it, wait, and use a flexible concealer with a damp sponge or fingertip. If the surface catches on the sponge, stop adding product and accept a little visible texture. More makeup will usually make the flaking louder.
For an old acne mark, skip green corrector unless the mark is genuinely red. Warm peach or golden concealer can neutralize brown discoloration more effectively, followed by a matching foundation. This is where knowing how to apply makeup to cover pimples becomes more about color theory than buying heavier makeup.
Make the coverage last through the day
Once the base is finished, keep your hands off your face. Blot oil with a clean tissue or blotting paper instead of adding powder repeatedly. If one spot fades, use a cotton swab to remove the loose makeup around it, add a pin-sized dot of concealer, tap the edge, and press powder on top. This targeted repair takes less than a minute and prevents the thick, cracked look that comes from layering powder over old foundation.
For a wedding, long workday, or warm Los Angeles afternoon, test the routine before the event. Wear it for at least eight hours and photograph your face near a window. A mirror can hide texture; a phone camera often reveals whether the center is too pale, the edges are obvious, or powder has gathered on dry skin. If I would not put the routine on a bride, I will not tell you to put it on your face.
The best result from how to apply makeup to cover pimples is not perfectly invisible skin. It is skin that still looks like skin, with redness softened and attention returned to your eyes, lips, and expression. Use less than your first instinct, place coverage precisely, and let a good color match do the heavy lifting.


No notes yet — write the first one.