If you've searched how do you do a smokey eye, you probably already know the frustrating version: two dark smudges, disappearing lids, and fallout under your eyes that looks like a second set of circles. I've done makeup on more than 200 wedding days, and the secret is not piling on black shadow. It is controlling placement, building color slowly, and keeping the edges soft without letting the whole look migrate.
A polished smokey eye can be brown, bronze, plum, charcoal, or even navy. It should suit your eye shape and the occasion, not copy a tutorial filmed with a ring light and three filters. Here is the method I use on real faces, including skin with texture, hooded lids, watery eyes, and long event days.
Start with a clean, controlled canvas
Before shadow, remove oil from the lids with micellar water or a small amount of gentle cleanser on a cotton swab. Pat dry, then apply a thin layer of eyeshadow primer. NARS Smudge Proof Eyeshadow Base is excellent for long wear, but Milani Eyeshadow Primer, usually under $10, performs impressively on normal and slightly oily lids. I have used both through 10-hour wedding days.
Do not put foundation or concealer all the way up to the brow before shadow unless you set it. Creamy coverage can make blending drag and can cause the darker shades to crease. A light layer of primer is enough. If your lids are very dry, tap on the smallest amount of eye cream and wait five minutes before priming. Too much slip is the enemy here.
Choose three shades: a transition color close to your natural skin depth, a medium brown or colored crease shade, and a deeper shade for the lash line. Add a shimmer only after the structure is finished. For a reliable everyday combination, try a matte tan, warm chocolate, and deep espresso. The e.l.f. Bite-Size Eyeshadow palettes are inexpensive and useful; Makeup by Mario Master Mattes offers more nuanced neutrals if you want a luxury option.
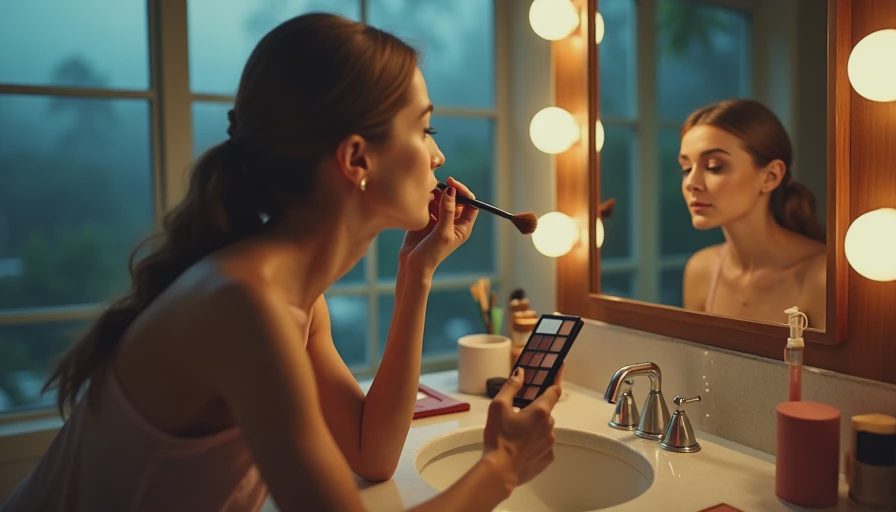
How do you do a smokey eye without making it muddy?
Place the transition shade first, using a fluffy blending brush. Sweep it slightly above your natural crease with windshield-wiper motions, but keep the color strongest at the outer third of the eye. This creates a visible shape when your eyes are open. If you have hooded lids, look straight into a mirror while applying so the color does not vanish under the fold.
Next, use a smaller tapered brush to press the medium shade into the outer corner and crease. Think of making a sideways V: one side follows the upper lash line, and the other rises gently toward the outer crease. Do not pull the color straight toward your temple. That creates a stripe instead of lift. Blend the upper edge with the first brush, using tiny circles and a nearly clean bristle surface.
Now press the deepest shade along the upper lashes. I prefer pressing pigment with a short, firm brush rather than sweeping it across the lid. Start at the lashes and work upward only a few millimeters. This keeps the eye defined while preserving the soft gradient that makes the look wearable.
The answer to how do you do a smokey eye is often less product, not more. If the eye looks too dark, do not immediately add a pale shade. Use the clean transition brush to soften the border, then reassess in natural light.
Add shimmer and liner with intention
Shimmer belongs where you want light to land. Tap a bronze or champagne shade on the center of the lid with your fingertip or a flat synthetic brush. Keep it away from the highest part of a pronounced hood if transfer is an issue. A satin finish often lasts better than chunky glitter and photographs more smoothly.
For liner, work a dark brown pencil into the upper lash roots. MAC Teddy is a classic soft brown; NYX Epic Smoke Liner gives a similar smudged effect at a lower price. Draw a thin line, then blur it immediately with a small pencil brush. A heavy liquid wing changes the look from diffused smokey eye to graphic liner, which is fine, but it is a different technique.
On the lower lash line, use the medium shade first and the deep shade only on the outer half. Connect it to the upper corner, then soften the inner edge until there is no hard stop. Leave the inner corner lighter unless you specifically want a dramatic evening result.
How do you do a smokey eye for your eye shape?
For round eyes, concentrate depth at the outer corner and extend the shadow slightly outward rather than wrapping dark color all the way around. This creates a longer shape. For hooded eyes, blend above the fold while your eyes are open and keep the lid shimmer close to the lash line. For deep-set eyes, avoid taking the darkest color too high; a medium matte shade will give dimension without making the eyes look recessed.
For downturned eyes, keep the lower lash line lighter and angle the outer upper shadow slightly upward. For monolids or minimal creases, use a gradient across the visible lid: deepest at the lashes, medium in the middle, and softest near the brow. There is no single correct smokey eye. The correct placement is the one that remains visible when your face is relaxed and your eyes are open.
If you wear glasses, check the look with your frames on. Lenses can magnify patchiness, while dark frames can handle stronger outer-corner definition. Take one photo from a normal distance before deciding the makeup is too much.
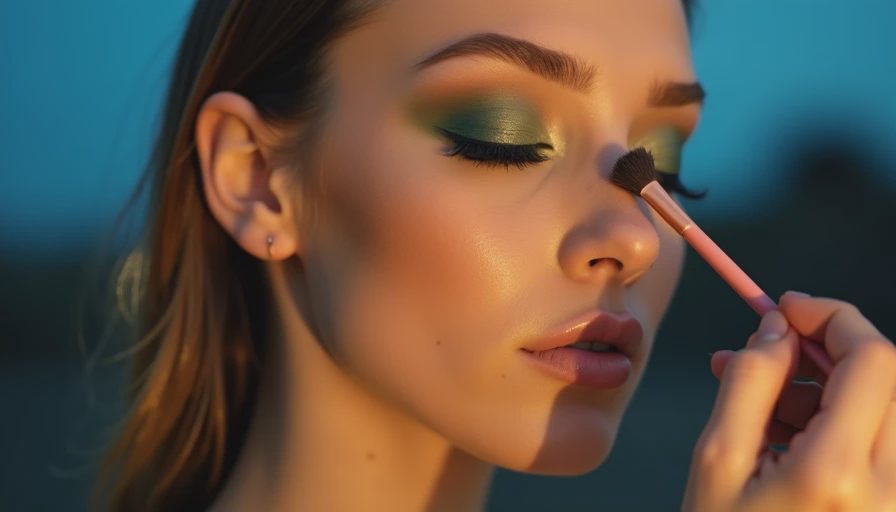
Prevent fallout and make the look last
There are two practical ways to handle fallout. Apply eye makeup before foundation, then clean the cheeks with a damp cotton pad. Or place a small amount of loose powder under the eyes and sweep it away afterward. I use the first method for dark charcoal looks and the second when a client already has perfect complexion makeup.
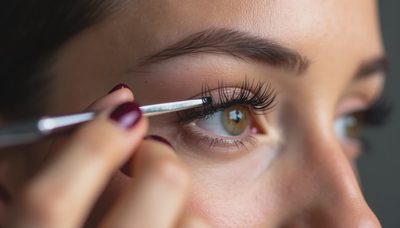
Mascara should be applied after you finish blending. Curl lashes first, then use one coat that separates and a second coat focused at the roots. L'Oreal Lash Paradise and Lancôme Lash Idôle have both held up well in my kit, but no mascara is waterproof unless the label says so. For weddings or humid outdoor events, use waterproof mascara and waterproof pencil only where needed; waterproof formulas can be harder to remove and more irritating for sensitive eyes.
Give the completed look ten minutes before judging it. Oils warm up shadow, and freshly applied pigment often appears stronger than it will after blending settles. If creasing starts, press a clean fingertip over the fold and re-blend with the original transition brush. Do not layer powder over a greasy crease; that usually creates a thicker, more obvious line.
A simple smokey eye routine for beginners
When someone asks how do you do a smokey eye, I recommend practicing this exact sequence: prime, apply transition shade, place medium color at the outer corner, press deep shade into the lashes, soften the edges, add a little shimmer, blur pencil liner, then finish with mascara. Use one brush for blending and one smaller brush for placement. Wipe the blending brush on a clean towel between shades instead of reaching for more product.
Practice on an ordinary evening rather than thirty minutes before a party. Take a break, look at the makeup from across the room, and compare both eyes in daylight. Most beginners discover that one side simply has more shadow, not that their technique is impossible. Remove half the product from the fuller side if necessary; matching the lighter eye by adding more usually makes both eyes too heavy.
My final rule is the one I use on every bride: if the shadow edge feels harsh to your fingertip or looks like a separate shape from six feet away, keep blending. If I wouldn't put it on a bride, I won't tell you to put it on your face. Start with brown, build slowly, and let your eye shape—not a trend—decide where the drama belongs.


No notes yet — write the first one.