Blue eyes smokey makeup does not have to mean a heavy black cloud around your eyes. On a wedding morning or a Saturday night in Los Angeles, I usually create more flattering results with bronze, taupe, plum, and soft charcoal. Those shades define blue irises while keeping the face polished instead of overly dramatic. After working on more than 200 wedding faces, I know the difference between makeup that looks beautiful for the first photo and makeup that still looks intentional 10 hours later.
The key is contrast, placement, and restraint. You want the color around the eye to make the blue look clearer, not compete with it. Here is exactly how I build the look, which products have survived full workdays, and where most smoky-eye tutorials steer you wrong.
Choose shades that make blue eyes look brighter
For blue eyes smokey makeup, start with colors that sit opposite blue on the color wheel. Warm copper, terracotta, bronze, peach, and rusty brown create the strongest contrast. You do not need orange eyeshadow; a warm brown crease with a copper lid is enough. Mauve, dusty plum, and burgundy also work because their red undertones make blue eyes appear more vivid.
My reliable everyday combination is a matte taupe through the crease, a satin bronze on the lid, and a deep chocolate brown at the lash line. For evening, replace the bronze with copper or add a small amount of charcoal to the outer corner. I avoid putting flat silver across the entire lid because it can make blue eyes look pale and washed out, especially under flash.
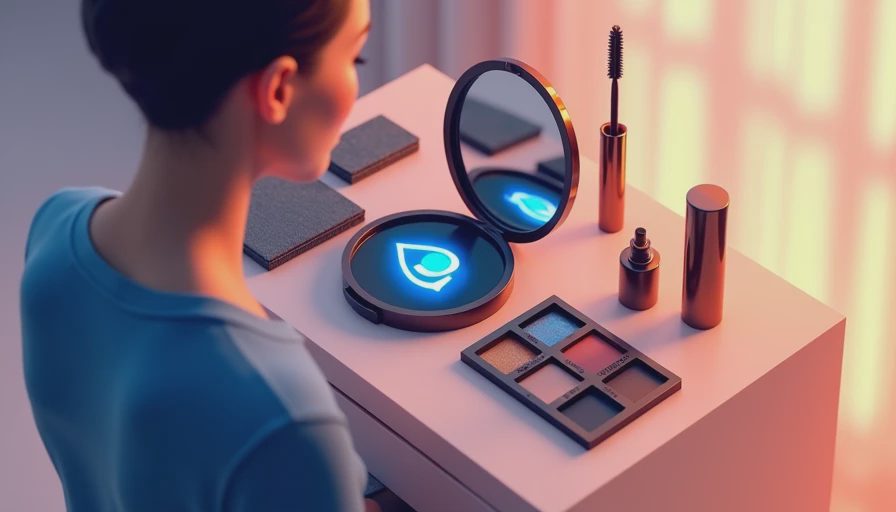
Affordable options include the e.l.f. Bite-Size Eyeshadow in Pumpkin Pie, around $4, and the ColourPop Super Shock Shadow in Ritz, usually about $6. At a higher price point, Natasha Denona’s Bronze Palette gives you several useful warm neutrals rather than one dramatic shade you will abandon after two wears.
Prep matters more than the palette
I have done enough blue eyes smokey looks to know that patchy shadow is usually a skin-prep problem, not a blending problem. Start with a thin layer of eye primer over the lid and slightly above the crease. Urban Decay Eyeshadow Primer Potion and Milani Eyeshadow Primer both held up through 12-hour wedding days in my kit. Use only a pea-sized amount divided between both eyes; too much creates a slippery surface.
Set the primer lightly with a skin-toned matte shadow if your lids crease easily. If your lids are dry, skip heavy powder and press a small amount of concealer into the inner corner instead. Curl lashes before shadow, not after. A fresh curl gives the outer lashes lift and helps you see how far the smoky shape should extend.
I also recommend doing the eye makeup before foundation when using loose shimmer or deep pigment. A piece of clean tape is not necessary and can pull at delicate skin. A fluffy brush with micellar water on the edge removes fallout more gently.
Build the smoky shape in the right order
The best blue eyes smokey makeup is built from light to dark. First, sweep a matte beige or soft peach from the lash line to the brow bone. This gives every later shade something to blend into. Next, place matte taupe or warm medium brown just above your natural crease with a tapered blending brush. Keep the color slightly higher than the fold when your eyes are open so the shape remains visible.
Press bronze or copper onto the mobile lid with a flat brush or your fingertip. Do not swipe shimmer back and forth; pressing gives better payoff and less fallout. Add chocolate brown to the outer third of the lid, then connect it into the crease with small circular motions. The deepest shade should occupy the least space.
For a lifted finish, angle the outer corner toward the end of your eyebrow rather than dragging shadow straight outward. Blend the edges until you can no longer see where one color stops. That process usually takes another two minutes, and those two minutes are what separate a smoky eye from a muddy eye.
Liner and lower lash line without closing the eye
Black liner can make blue eyes smokey makeup look intense, but it is not always the most flattering choice. For daytime, use espresso or deep bronze pencil along the upper lash line and smudge it with a small brush. Keep the inner corner clear. This leaves a little brightness around the iris and makes the eyes look larger.
For evening, tightline the upper lashes with a waterproof black pencil, then add a thin brown or charcoal line above the lashes. I like Make Up For Ever Aqua Resist pencils for long events; NYX Epic Wear pencils give strong staying power for considerably less money. Set pencil liner with a matching shadow if your eyes water.
On the lower lash line, repeat the crease shade rather than copying the darkest lid shade. Sweep taupe from the outer corner to the center, then add a touch of bronze near the inner half. A small amount of dark brown at the outer third creates definition without making the entire eye look smaller. Finish with waterproof mascara on the upper lashes and a lighter coat on the lower ones.
Adapt the technique to your eye shape
If your lids are hooded, place the transition shade with your eyes open and look straight into a mirror. The visible color needs to sit above the fold, while shimmer stays below it. For deep-set eyes, keep the brow-bone area matte and bring brightness to the center of the lid. If your eyes are close-set, concentrate the darkest color on the outer corners and use champagne or pale bronze at the inner corners.
For downturned eyes, stop the lower-lash shadow before the outer corner and blend the upper shadow slightly upward. Round eyes benefit from extending the outer third horizontally instead of wrapping dark color all the way around. These adjustments matter more than copying a celebrity tutorial frame by frame. The same palette can create completely different results depending on where the shadow is placed.
My 12-hour finishing checklist
Before calling blue eyes smokey makeup finished, step away from the mirror and check it in natural light. Look for three things: a clean blend above the crease, equal depth on both outer corners, and no loose shimmer underneath the eyes. A cotton swab dipped in micellar water cleans the lower edge quickly. Follow with a tiny amount of concealer only where needed; too much concealer can make the eye area look thick.
Press a clean fingertip over the lid to remove excess sparkle, then mist the face with a setting spray from about 10 inches away. Charlotte Tilbury Airbrush Flawless Setting Spray held up well during several long event days, while Milani Make It Last is my practical drugstore pick. Neither replaces primer, but both help powder and cream layers settle together.
Pair the eye with a softly defined brow, peachy blush, and a neutral rose or caramel lip. A strong eye does not require a completely bare face. If I would not put it on a bride, I will not tell you to put it on your face—and this version has passed every real-life test I have given it. Start with bronze before reaching for black, blend longer than feels necessary, and blue eyes smokey makeup becomes wearable, bright, and genuinely elegant.
No notes yet — write the first one.