Teenage makeup should make a young face look like itself on a very good day, not cover it with a heavy layer of products. I have worked on more than 200 faces, from wedding mornings to commercial sets, and the same rule applies every time: good makeup starts with comfortable skin and a light hand. For teenage makeup, you need a short routine, products that are easy to remove, and techniques that survive classes, photos, lunch, and an after-school activity.
Start with skin, not foundation
Cleanse with a gentle face wash, pat dry, and apply a plain moisturizer. If it is daytime, finish with broad-spectrum SPF 30 or higher. Makeup sits unevenly on dry patches, while too much rich cream can make concealer slide by second period. Give moisturizer five minutes to settle before applying color.
If breakouts are part of the picture, do not scrub them aggressively or pile on five acne treatments before makeup. A small amount of fragrance-free moisturizer can make flaky areas look calmer. For an active blemish, dab concealer only in the center, let it sit for thirty seconds, then tap the edges with a clean fingertip or small brush. Rubbing removes the coverage you just placed.
Teenage makeup does not require primer, but a thin layer can help on a long day. E.l.f. Power Grip Primer costs around $10 and feels tackier than a traditional primer; use half a pea-sized amount, not a full pump. For very dry skin, skip gripping primer and use moisturizer instead. If redness is the concern, spot-correct rather than spreading green product across the entire face.
Build an even base with less product
The most flattering teenage makeup base is usually tinted moisturizer, skin tint, or strategically placed concealer. A full-coverage foundation can look beautiful under studio lights, but it is often more product than someone needs for school. Try Maybelline Fit Me Concealer, around $9, or NYX Bare With Me Concealer Serum, around $12, in a shade that matches the center of the face rather than the hand.
Place three tiny dots under each eye, one on the sides of the nose, and only where redness needs help. Press with a damp sponge or your ring finger. The goal is not to erase every pore. Real skin has texture, and a little texture looks far more natural than a thick, cracked patch of makeup by lunchtime.
For an inexpensive all-over option, e.l.f. Halo Glow Liquid Filter is lightweight and softly reflective, but it is not a foundation and will not hide blemishes. That is exactly why it works for a simple teenage makeup look: apply a small amount to the high points of the face, then add concealer only where necessary.
Add shape with blush and brows
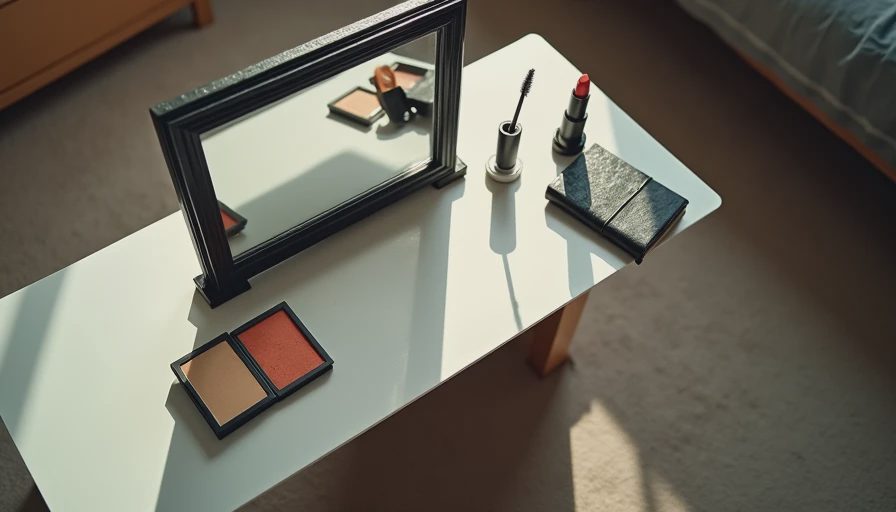
Blush brings life back after concealer. Cream formulas are forgiving because they melt into the skin instead of sitting on top. Milani Cheek Kiss Cream Blush is generally around $10, and one small dot is enough for both cheeks. Smile gently, place the color slightly above the fullest part of the cheek, and blend toward the temples. If the blush disappears, add another tiny layer; starting with too much is much harder to fix.
Powder blush works well for oily skin. Use a fluffy brush and touch the pan once before tapping off excess. For teenage makeup, peach, soft rose, and muted berry tones are more versatile than an intense contour shade. Bronzer is optional. If you use it, choose a neutral or softly warm shade and sweep it around the outer forehead, cheekbone, and jaw with almost no pressure. A stripe of dark bronzer is not definition; it is simply a stripe.
Brows need restraint. Brush them upward with a clean spoolie, then fill only visible gaps using short strokes. NYX Micro Brow Pencil is usually about $12 and has a fine tip that allows control. Keep the front of the brow lighter than the tail. Heavy square fronts are the fastest way to make a fresh face look dated.
Eyes that look polished in real life
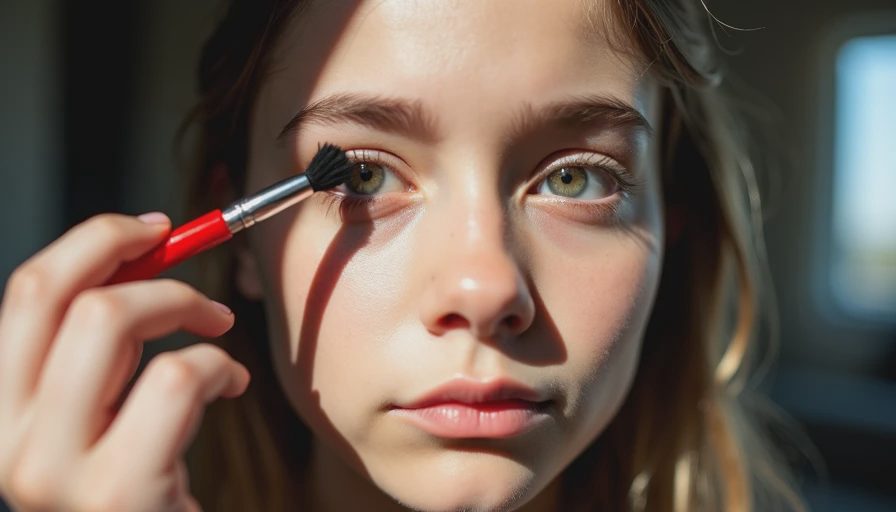
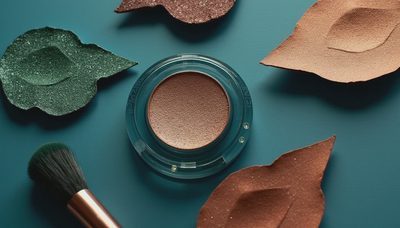
You do not need a complicated palette for teenage makeup. A matte taupe, soft brown, champagne shimmer, and deep brown liner can create several looks. Sweep taupe through the crease with a fluffy brush, tap champagne on the center of the lid with a fingertip, and blend until there is no hard edge. Shimmer belongs on the lid, not necessarily under the brow and in the inner corner at the same intensity.
For liner, tightline the upper lash line with a brown pencil or press dark shadow close to the lashes. Black liquid liner can look sharp, but it takes practice and tends to transfer on hooded lids. Waterproof mascara is useful for a dance, outdoor event, or humid day, but removing it requires an oil-based cleanser or micellar water followed by a regular cleanser. Never sleep in it. Eye irritation is not a beauty trade worth making.
Teenage makeup looks best when the eyes have one main idea: soft definition, a flick, or color. Trying a bold wing, glitter, false lashes, and intense lower liner at once usually creates visual clutter. Practice dramatic looks at home before wearing them to a first event.
Lips, hygiene, and smart product choices
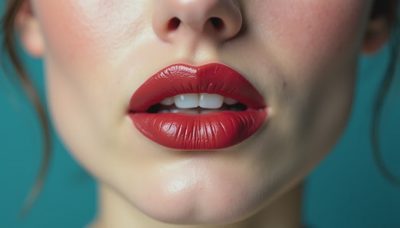
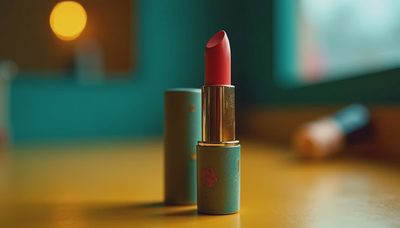
Lip balm, tinted balm, and a soft pencil are practical choices for teenage makeup. Revlon Kiss Balm is often under $8, while Maybelline Lifter Gloss is usually around $10. Apply balm first, wait a minute, blot once, and then add color. If gloss feels sticky, tap it only at the center of the lips rather than coating the entire mouth.
Do not share mascara, liquid eyeliner, lip gloss, or cream products that touch broken skin. Sharpen pencils regularly, wash brushes weekly with gentle soap, and replace mascara about three months after opening. Toss anything that changes smell, texture, or color. A $6 product used hygienically is safer and more useful than a $40 product kept past its life.
Look for ingredients that your skin tolerates rather than assuming expensive means better. Patch-test a new product near the jaw or behind the ear, especially if fragrance has caused irritation before. Stop using anything that burns, swells, or causes a persistent rash. Makeup should feel like makeup, not a medical experiment.
A five-minute school routine
For a quick teenage makeup routine, begin with moisturizer and sunscreen. Apply concealer only to redness and the inner under-eye corner. Add cream blush, brush brows upward, curl lashes, and apply one coat of mascara. Finish with balm or gloss. With practice, this takes five minutes and looks intentional without appearing overworked.
For a more polished weekend version, add a sheer skin tint, soft bronzer, brown liner, and a second coat of mascara. Take a photo in daylight before leaving. Bathroom lighting can make blush and foundation appear much lighter than they really are. If the base looks visible around the nose or mouth, press those areas with a clean damp sponge and remove product instead of adding powder.
Teenage makeup should also fit the occasion. School, a family dinner, a school dance, and a photo session all have different needs. For a dance, use thin layers and set the center of the face with translucent powder. For photos, keep shimmer controlled and blend blush farther back. For everyday wear, skip anything that requires constant checking in a mirror.
What I would actually put in a starter bag
A useful starter kit can cost less than $60: gentle cleanser, moisturizer with SPF, concealer, cream blush, brow pencil, mascara, lip balm, and one washable sponge. E.l.f., Maybelline, Milani, NYX, and Wet n Wild all make products worth examining; brand prestige is not a substitute for good color or comfortable wear. I have seen a $7 mascara outperform a $30 formula on a long workday, and I have also seen a luxury concealer earn its place because it blends quickly and wears evenly.
The best teenage makeup lesson is learning what to leave off. One thin layer beats three thick ones. Blending matters more than collecting palettes. Remove everything before bed, clean the tools that touch your face, and change the routine when your skin changes. If I would not put it on a bride, I will not tell you to put it on your face. That standard works for a first makeup bag, too.
No notes yet — write the first one.