A blue based red lipstick is the shade I reach for when a client wants classic red without looking overly orange, yellow, or dated. After 12 years and more than 200 weddings, I can tell you that the right red is less about following a trend and more about controlling contrast, texture, and undertone. A cool red can make teeth look brighter, sharpen a simple outfit, and stay elegant from ceremony photos through the last dance.
The phrase “blue based” describes the color temperature of the red, not a literal blue cast that should look obvious on your mouth. Think cherry, cranberry, raspberry, ruby, and true red. These shades usually suit cool and neutral undertones, but warm undertones can wear them beautifully when the rest of the makeup is balanced. The goal is not to obey a rigid color wheel rule. The goal is to choose a red that looks intentional on your face.
How to tell whether a red is truly blue based
Look at the lipstick beside a clean white tissue or a plain white piece of paper. If it leans toward cherry, berry, pink, or wine, you are probably looking at a blue based red lipstick. If it pulls toward tomato, coral, pumpkin, or brick, it is warmer. Store lighting can be misleading, so check the color near a window or use a phone photo taken without a beauty filter.
Your skin undertone gives you a starting point, not a sentence. Veins that appear blue or purple often indicate a cool undertone, while green-looking veins often suggest warmth. If both seem visible, you may be neutral. Silver jewelry can look especially harmonious on cool skin, while gold may flatter warm skin, but real faces are more complicated than a vein test. I have matched plenty of neutral clients who looked fantastic in both a ruby red and a warm tomato shade.
Pay attention to your natural lip color, too. A deep mauve lip can make a lipstick look more berry-toned, while pale lips may reveal more of its blue pigment. Apply a stripe to your bare inner wrist only for a quick comparison; your lips are the final test.
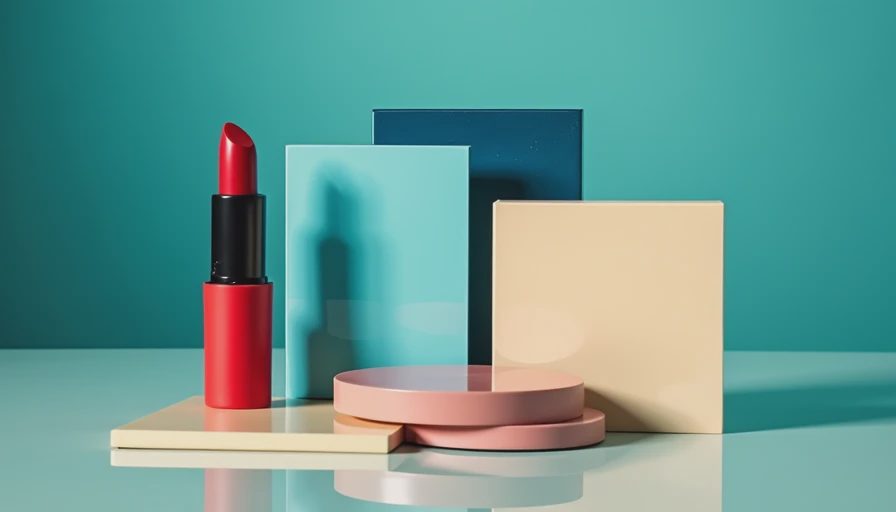
My pro-tested shade picks at different prices
For a polished classic, MAC Ruby Woo remains one of my most dependable choices at about $25. It is a vivid, retro red with a very matte finish. On a wedding client, I apply a thin layer, blot once, and add a second layer only in the center of the lips. That keeps the color bold without creating a dry, heavy edge. It lasted roughly seven hours through talking, coffee, and a careful meal on my most recent full-day test.
Maybelline Color Sensational Made for All in Red for Me, usually around $10, is a softer budget option. It has more slip than Ruby Woo and feels easier on dry lips. The color is not quite as crisp, but it photographed beautifully and survived about five hours before needing a touch-up at the inner lip. This is the sort of drugstore result I am happy to put in a bride’s emergency kit.
NARS Powermatte Lip Pigment in Dragon Girl, around $34, gives a saturated red with a slightly raspberry direction. It sets quickly, so work in a thin layer and correct the outline immediately. On prepared lips, it wore close to eight hours in my kit test, though any liquid matte can emphasize flakes if you skip balm and gentle exfoliation.
For a comfortable satin finish, look at Fenty Beauty Stunna Lip Paint in Uncensored, generally about $28. It is a true, vivid red rather than an obviously berry shade. Use less than you think you need: one small dot can cover the lips. It wore around six hours for me, with a graceful fade instead of patchy chunks.
Application that makes the color look expensive
Start with smooth lips, but do not scrub aggressively. Press a damp washcloth over the mouth after cleansing, then apply a very thin layer of balm. Let it sit for five minutes while you do complexion makeup, and blot away the excess. A thick balm left underneath is one of the fastest ways to make red feather or slide.
Outline with a pencil close to your natural lip color or with a matching red pencil. I usually draw the cupid’s bow first, then mark the center of the lower lip, and connect those points to the corners. This gives you structure without forcing an exaggerated shape. Fill the entire lip with pencil when you need the color to last through a long event.
Apply the lipstick from the center outward with a small synthetic brush. A brush gives you more control than dragging a bullet straight across the mouth, particularly around the cupid’s bow. Clean the edges with a tiny amount of concealer on a flat brush, then press one-ply tissue over the lips and dust a little translucent powder through it. Do not bake powder directly onto the lipstick; that creates a dry, cracked finish.
Matching blue based red lipstick to the rest of your face
Keep the eyes deliberate but uncomplicated. Brown mascara, soft taupe shadow, and a clean liner let the red remain the focal point. If you choose a strong cat-eye, keep the blush restrained. Rose, neutral pink, and muted berry blushes usually sit more naturally beside a blue based red lipstick than bright coral.
That does not mean warm skin must avoid this family. Try a sheer layer first, add bronzer with a light hand, and choose a blush that bridges the two temperatures, such as a neutral rose. The contrast can look modern and clean. What tends to fight the lipstick is a competing orange blush, very yellow foundation, and an equally saturated warm eye all at once.
For photographs, check the teeth and the corners of the mouth under direct light. Red lipstick can make dry texture more visible than a nude shade, so carry a cotton swab and a tiny amount of concealer for cleanup. A compact mirror is useful, but your phone’s rear camera often reveals uneven edges more honestly.
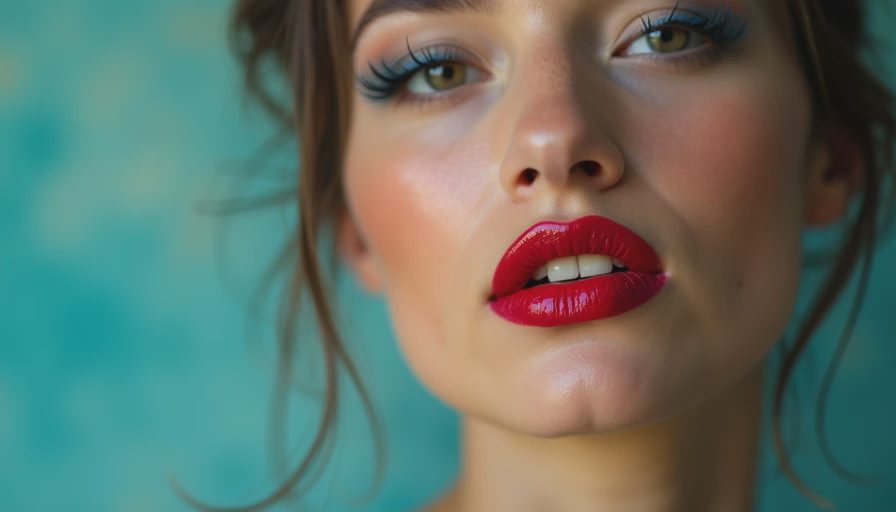
How to make the wear last through a real day
Long wear starts with placement, not a promise printed on the tube. Apply the first layer, blot, and apply a second thin layer. Avoid rubbing your lips together aggressively because it pushes pigment beyond the outline. Eat smaller bites, use a straw for dark drinks when practical, and expect the center of the lip to fade before the border.
For a wedding or event, put the lipstick in a labeled touch-up bag with a pencil, cotton swabs, and a small mirror. Ask the wearer to check after coffee, after the main meal, and before photos. A quick center-of-the-lip refresh looks better than adding another full coat over a broken, crumb-covered layer. Remove the old residue with micellar water on a swab, blot dry, and reapply.
If your lips are persistently dry, switch from an ultra-matte formula to satin. The best blue based red lipstick is not the one with the longest marketing claim; it is the one you can wear comfortably enough to maintain. I would rather see a fresh satin red after six hours than a cracked matte red that looked perfect only for the first twenty minutes.
The final shade decision
Choose a cherry or ruby red when you want a timeless, high-contrast statement. Choose raspberry when you want the color to feel softer and slightly more wearable. Choose a satin formula for dry lips, and choose a liquid matte only when you are willing to prep carefully and carry a touch-up plan.
Take three finalists into natural light, photograph each from the front, and wear the winner for at least four hours before buying a full-size tube. Notice whether it settles into lines, migrates at the corners, or leaves an attractive stain. That real-life test matters more than a swatch video. If I would not put it on a bride, I will not tell you to put it on your face, and these reds have earned their place in my working kit.
No notes yet — write the first one.