After 12 years and more than 200 faces in my chair, I know the easiest lashes to apply are not always the ones with the prettiest packaging. A lash can look delicate in the tray and still fight you for 20 minutes, lift at the inner corner, or poke every time you blink. For beginners, the right band, length, and adhesive matter more than a dramatic curl.
I tested these styles during regular workdays, bridal trials, and long event shifts. My standard is simple: if I wouldn't put it on a bride, I won't tell you to put it on your face. The recommendations below focus on flexible bands, manageable fibers, and styles that still look polished after several hours.
What makes a lash easy to apply?
The easiest lashes to apply usually have a thin, flexible band that bends along the natural curve of your eyelid. A stiff band lifts at the corners, while an overly thick band can make even careful placement look heavy. Look for lashes described as lightweight, clear-band, or cluster-based, but judge the actual construction rather than trusting the label.
Length matters, too. A band that extends far past your outer corner is harder to position and more likely to catch on the skin. For a first attempt, choose a lash that finishes close to the outer edge of your natural lash line. A soft wing shape, with shorter fibers near the inner corner and longer fibers toward the outside, is forgiving because a tiny placement mistake looks intentional.
I also prefer a lash with a little separation between fibers. Very dense strips conceal your natural lashes and make the line seem uneven when it is only slightly misplaced. Ardell Demi Wispies remain one of my reliable drugstore options at roughly $6 to $8, while Kiss My Lash But Better styles generally sit around $7 to $10 and offer a similarly approachable shape.
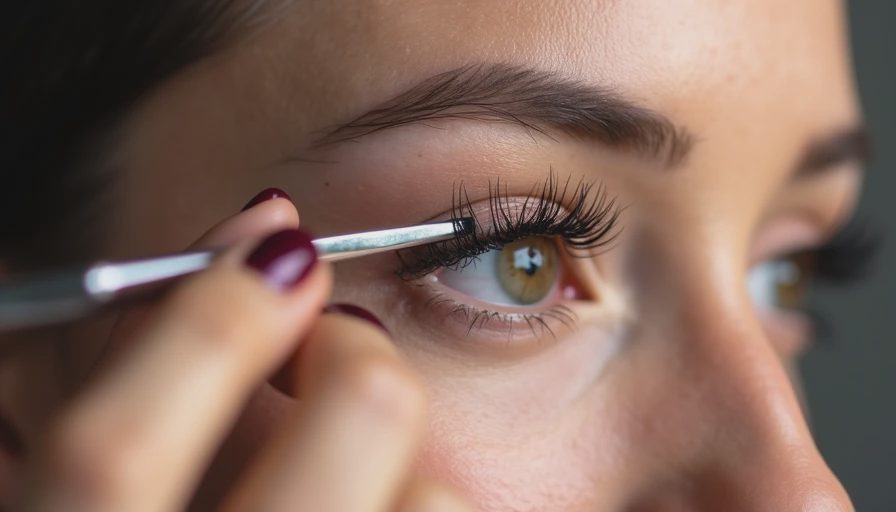
My favorite beginner-friendly lash formats
If you want the easiest lashes to apply without learning a complicated technique, start with a half lash or an outer-corner style. These cover only the outer half of the eye, so there is less band to position and less chance of irritating the inner corner. Kiss imPRESS Falsies are a useful option when you do not want traditional liquid glue; the pre-applied adhesive makes them quick, although you still need clean, dry lids for the best hold.
Full strips can also be easy when the band is short and flexible. Eylure Naturals No. 031 is a good example of a softer, everyday shape, usually priced around $8 to $12. For a more natural finish, Velour Effortless No Trim lashes cost more, often near $20 to $30, but the pre-trimmed design removes one of the most annoying beginner steps.
Clusters are another strong choice. Ardell Duralash Individuals or Kiss Falscara wisps let you place small sections beneath or above your natural lashes, depending on the system. Instead of trying to make one long strip behave, you can adjust one cluster at a time. Use fewer pieces at first; three small clusters on the outer half often look better than a crowded row.
The application method I use on real clients
Before reaching for glue, apply your eyeshadow, liner, and mascara. Curl your natural lashes lightly, then brush on one thin coat of mascara. Hold the lash against your lid without adhesive and check whether the inner end begins where your natural lashes begin. If it reaches too far, trim from the outer end in tiny increments. Cutting from the inner end can remove the shorter fibers that make the lash look believable.
The easiest lashes to apply are much easier when the adhesive has had time to become tacky. Put a thin line of glue along the band and wait 25 to 40 seconds. Wet glue slides; tacky glue grips. Look downward into a mirror, place the center of the band first, then press the outer and inner corners into place with tweezers or a lash applicator. Do not squeeze the lash onto your lid while it is still moving.
Once it is positioned, press the false and natural lashes together gently. Add a narrow line of black or dark brown liner if the band is visible. I avoid piling on extra glue after placement because that creates a shiny, lumpy line and makes removal harder. Duo Brush-On Adhesive is a dependable choice for many clients; the brush gives better control than a large squeeze tube.
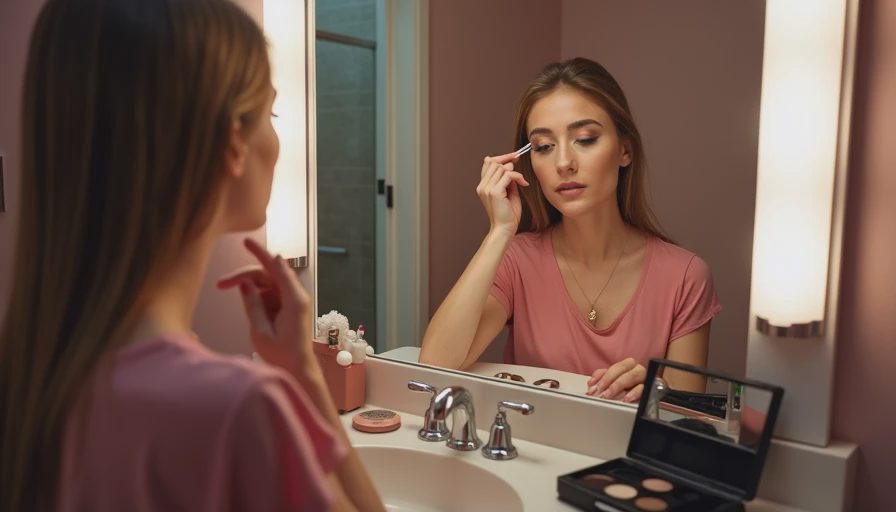
Easiest lashes to apply for different eye looks
For office makeup or a first date, choose a short, tapered style with fibers around 8 to 10 millimeters. It adds definition without announcing that you are wearing a strip. For hooded lids, an outer-corner lash often works better than a very tall, rounded style because it adds lift without disappearing beneath the fold. Trim the band slightly shorter than you think you need, then test it before adding adhesive.
For a wedding or evening event, the easiest lashes to apply are usually medium-density lashes with a thin band rather than enormous volume lashes. Lilly Lashes can create a fuller effect, but many of the styles require precise trimming and careful liner. I would save them for someone comfortable with strip placement. For a softer bridal result, Ardell Demi Wispies or Velour Luxe styles give dimension that photographs well without making the eyes look weighed down.
If your eyes water easily, use a smaller outer-corner section and avoid placing fibers directly over the tear duct. Waterproof eye makeup does not make false lash glue invincible, so build a small amount of stability through placement instead of adding a thick adhesive layer.
Common mistakes that ruin a good lash
The first mistake is skipping the dry fit. Every eye is shaped differently, and a lash that looks symmetrical in the package may need more trimming on one side. The second is using too much glue. A thin, even line is enough; excessive adhesive takes longer to set and can slide onto your eyeliner.
Another problem is placing the lash too high above the natural line. This leaves a gap that becomes obvious when you look down. Place the strip as close to the roots as you can without putting adhesive directly into your eye. If the inner corner lifts after a few minutes, use a tiny amount of fresh glue on the band, wait until tacky, and press it down with tweezers.
Do not sleep in strip lashes, and remove them by loosening the outer corner first. Pulling quickly can take natural lashes with the band. For reusable styles, remove leftover adhesive from the band and store the lash in its tray. A clean, gently handled pair can often survive several wears, while a dirty pair is not worth saving.
My quick shopping plan for beginners
Buy one inexpensive everyday pair, one half lash, and a small tube of reliable adhesive rather than a giant multipack of dramatic styles. Start with Ardell Demi Wispies if you want a classic strip, Kiss imPRESS Falsies if glue makes you nervous, or a few Kiss Falscara wisps if you prefer a customizable result. Add a pair of slanted tweezers or a dedicated lash applicator; your fingers can work, but tools give you a clearer view of the band.
Practice once before an important event. Apply the lash, wear it for four to six hours, and notice where it feels uncomfortable or begins to lift. That test tells you more than a short bathroom try-on. In my kit, the easiest lashes to apply are always the ones that match the wearer's eye shape, not necessarily the most expensive or dramatic pair.
Give yourself ten quiet minutes, keep the mirror slightly below eye level, and let the glue become tacky. With those three changes, lash application stops feeling like a tiny emergency and starts becoming another predictable part of your makeup routine.
No notes yet — write the first one.