Foundation samples are the smartest way to stop buying expensive bottles that look perfect under store lights and orange by your bathroom window. I have matched hundreds of faces for weddings, photo shoots, and ordinary Tuesday mornings, and the best shade is rarely obvious from a swatch on your wrist. Skin has undertones, texture, oil patterns, and seasonal changes. A sample lets you test the whole equation before you spend $30, $45, or $70 on a full-size product.
I do not accept paid placements, so this advice is based on what has survived real workdays. If I would not put it on a bride, I will not tell you to put it on your face.
Why Foundation Samples Beat Wrist Swatches
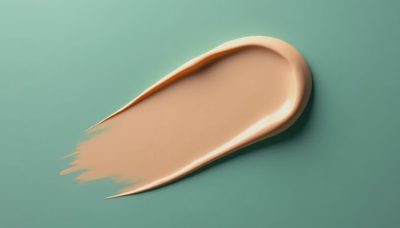
Your wrist is usually lighter and less exposed to the sun than your face, neck, and chest. That is why a shade can look correct there and still create a visible mask along your jaw. Apply foundation samples in three narrow stripes from the lower cheek toward the jawline. Use one shade that looks slightly too light, one that seems closest, and one that looks a touch deeper.
Wait at least 10 minutes before deciding. Many formulas oxidize as they mix with oil and air, becoming darker or warmer after application. Check the shades near a window, then step outside for a moment. Store lighting is designed to flatter products, not reveal a mismatch. The right shade should nearly disappear across your jaw, with no gray, pink, yellow, or orange edge.
Do not rub each stripe away immediately. You need to see how the formula settles into pores, dry patches, and expression lines. Foundation samples are small, but a pea-sized amount is enough for a proper test on one side of the face.
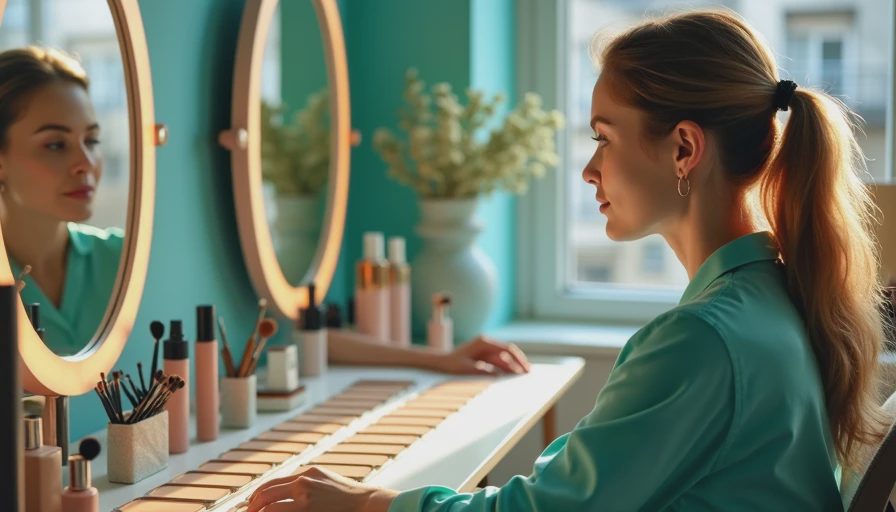
How to Test Foundation Samples Like a Makeup Artist
Start with clean, moisturized skin and use the primer you normally wear. Testing a foundation over a heavy cream one day and bare skin the next tells you very little. Keep the conditions consistent. If you use sunscreen every morning, wear that sunscreen under the test because it can change both texture and color.
Test one formula on each side of your face rather than layering several products together. Put a small amount on the cheek, around the nose, and along the jaw. The cheek shows coverage and texture; the nose shows oil control; the jaw shows the shade. Use your fingers for one side and a damp sponge or brush for another only if you are comparing application methods, not formulas.
Take a photo immediately, after two hours, and at the end of the day. Look for separation around the nostrils, shine on the forehead, and dry lines beneath the eyes. In my kit, a foundation that still looks balanced after eight to ten hours earns another test. One that breaks apart by lunchtime goes straight into the graveyard drawer, regardless of how beautiful it looked in a campaign image.
Choosing Your Undertone and Finish
Foundation samples are especially useful when you cannot tell whether your undertone is cool, warm, or neutral. Cool skin often makes silver jewelry look harmonious and can pull yellow formulas visibly golden. Warm skin generally handles yellow or peach tones well, while neutral skin can wear a more balanced beige. Olive undertones are trickier; many standard shades turn pink, so look for descriptions such as olive, golden-neutral, or muted.
Finish matters just as much as color. Dry skin usually benefits from satin or natural formulas, applied over moisturizer and pressed in with a sponge. Oily skin often prefers soft matte formulas, but avoid applying a thick layer everywhere. Place coverage where redness needs it and leave the high points thinner. Combination skin may need a natural finish through the cheeks and a light powder only across the center of the face.
For a wedding, I look for foundation samples that photograph evenly without turning flat. A foundation can be matte in person but emphasize every small texture under flash. If you are testing for an event, take one flash photo and one photo in indirect daylight before committing.
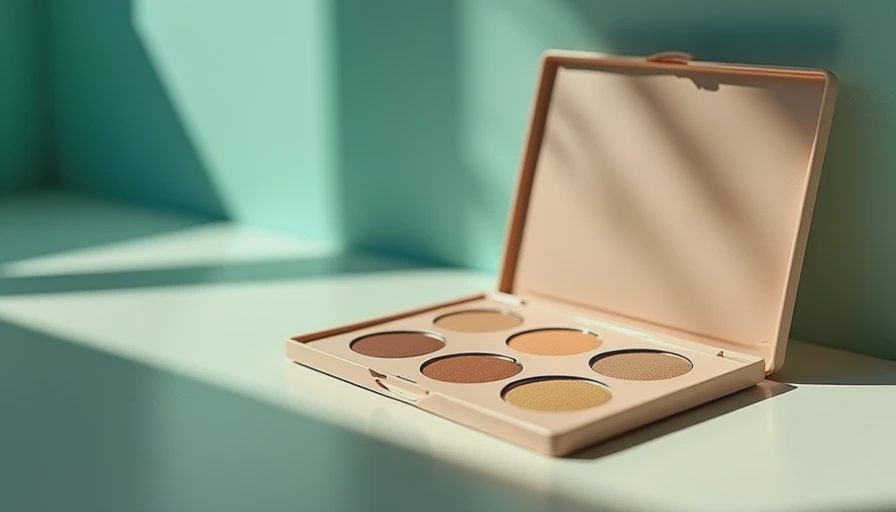
Where to Get Useful Foundation Samples
Department store counters often provide sample jars or small packets, and many beauty retailers offer sample cards with several shades. Sephora commonly carries testers and sample options for popular lines, while brands such as Estée Lauder, NARS, MAC, Fenty Beauty, and Make Up For Ever have broad shade ranges worth comparing. Drugstore shoppers can look for mini sizes, travel bottles, or stores with a clear return policy.
Ask for enough product to test twice. One application tells you the color; a second tells you whether the formula behaves consistently. If a counter gives you only a tiny amount, reserve it for a focused jawline test rather than trying to cover your entire face.
Bring your current foundation, if you have one, and explain what you dislike about it. Saying “it turns orange” is more useful than simply requesting a lighter shade. A skilled artist can often adjust the undertone, finish, or depth instead of guessing from your description.
A Practical Sample-Test Schedule
On the first day, match the shade in natural light and wear it for two hours. Note whether it darkens, feels tight, or gathers beside your nose. On the second day, apply it with your usual tools and wear it for a full workday. Check the result at lunch, after commuting, and before removing it at night.
If the color is right but the finish is wrong, do not immediately reject the shade. Try less product, a different moisturizer, or a small amount of translucent powder. If the formula looks patchy only over sunscreen, allow your skincare to dry for 10 minutes before applying makeup. If it still pills, the products may not be compatible.
Foundation samples can also prevent costly online mistakes. Compare your face, neck, and chest in the same light, especially if you use self-tanner or spend time outdoors. Keep notes on the shade name, undertone, application method, and wear time. That little record becomes incredibly useful when a brand reformulates or your skin changes with the seasons.
My Pro Buying Rule
Never buy a full bottle because the first five minutes looked beautiful. Buy it because the shade disappears, the texture stays comfortable, and the coverage still looks intentional after a real day. A $12 foundation that lasts eight hours with light powder is a better purchase than a $65 bottle that needs constant repair.
Foundation samples give you permission to be picky. Test them along the jaw, watch the color settle, photograph the finish, and judge the product under the conditions in which you actually live. If you are preparing for a wedding or major event, do the complete test at least two weeks ahead so there is time to change course. Your face should look like skin, only more even. That is the standard I use on every client, and it is the one I want for you.
No notes yet — write the first one.