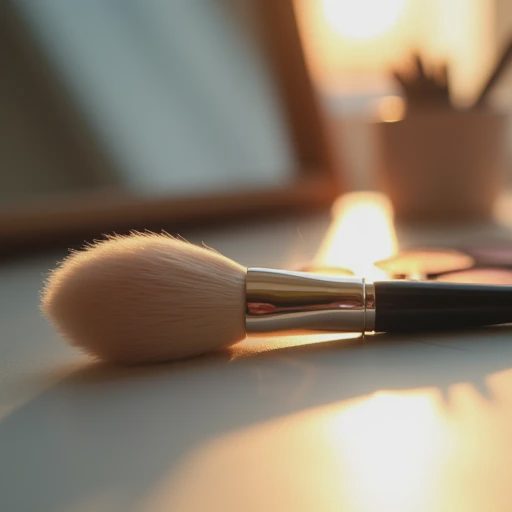
Most eyeshadow looks that fall short fail in the same place: the edges. The color is there, the shape is roughly right, but the transitions are harsh or patchy, so the whole thing reads as “done at home.” Professional blending is not magic and it is not about owning eighteen brushes. It is about order, pressure, and knowing when to stop.
Here is the method I use on clients when the eye needs to look intentional and clean.
Start with a surface that will hold the work
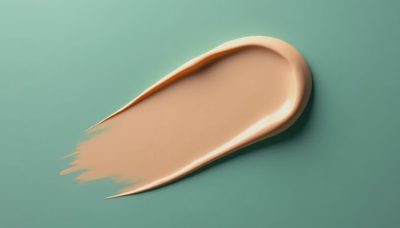
Bare lid skin or skin with only moisturizer on it will fight you. A thin layer of primer or a light, neutral cream base gives pigment something to grip and makes blending smoother. Let it set for a minute. If you skip this step, you will spend the rest of the time chasing patchiness.
For most everyday and wedding eyes I use a small amount of sticky primer or a cream shadow in a skin-like tone worked evenly over the lid and up toward the brow bone. This is not the place for heavy, greasy product.
Map before you intensify
Decide the shape first with a medium neutral tone. A soft brown or taupe in the crease establishes where the depth will live. Use a fluffy blending brush and light pressure. The goal at this stage is a soft wash that shows you the architecture of the eye, not a finished look.
Work with the eye open and then check with it closed. Placement changes when the lid moves. If the crease color is too low or too high with the eye open, adjust now while the product is still easy to move.
Pack, then blend—do not try to do both at once
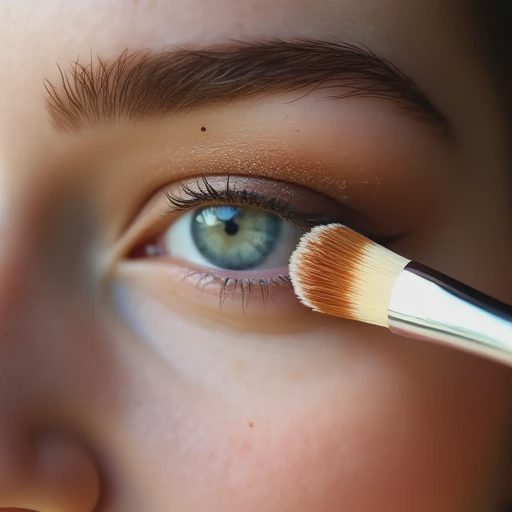
Dense color belongs on a denser brush and goes onto the lid or the outer corner with intentional placement. Once it is down, switch to a clean or lightly product-loaded fluffy brush to soften the edges. Using the same brush for packing and blending usually muddies the shape and removes more product than you want.
Pressure is the variable most people get wrong. Heavy pressure packs and muddies. Light pressure moves and softens. When you are blending the upper edge of the crease color, use the tip of the brush and almost no pressure. Let the bristles do the work. If you feel yourself scrubbing, stop and lighten up.
Work in thin layers
It is easier to add than to remove. Apply less product than you think you need, blend, then assess. Building intensity in layers keeps the edges soft and prevents the muddy, overworked look that happens when too much pigment is dumped on at once and then aggressively blended.
If a spot is too dark or too sharp, take a clean fluffy brush and a tiny amount of the original neutral transition shade and diffuse the edge. Do not reach for a wet wipe or a finger full of moisturizer unless you are prepared to start over in that area.
The outer corner and lower lash line need the same respect
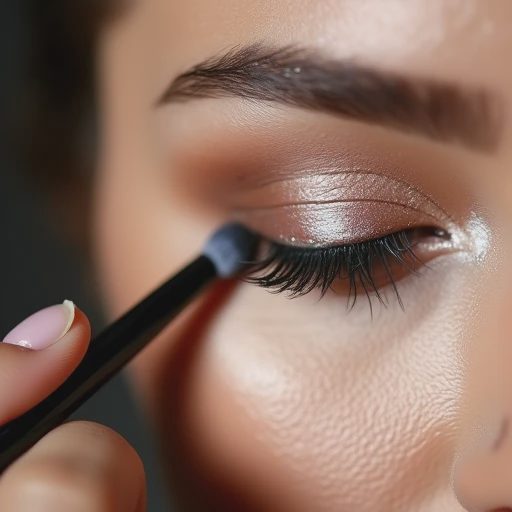
A hard outer corner is one of the fastest ways to make a look feel unfinished. Soften that edge upward and outward so it connects to the crease instead of sitting as a separate block. On the lower lash line, use a smaller brush and less product. Tight, muddy lower shadow ages the eye quickly. A soft diffusion of the same outer-corner color is usually enough.
Clean up is part of the blend
Even good blending leaves a little fallout or a slightly messy perimeter. Use a clean angled brush or a cotton swab with a bit of moisturizer or micellar water to sharpen the edge under the lower lashes or clean the outer corner if needed. A small amount of concealer under the brow bone or at the outer edge can make the whole shape look more deliberate—use it sparingly and blend the edges so it does not become a visible stripe.
What “looks expensive” actually is
It is not the number of colors. It is the absence of hard lines, the evenness of the transitions, and the sense that the darkest points are intentional. A two- or three-shade eye with controlled blending will always look more polished than a six-shade eye with muddy edges.
Practice the sequence slowly: prime, map with a neutral, pack deeper color where you want intensity, blend the edges with a light hand, check with the eye open, refine. Once the sequence is automatic, speed comes with it.
I use this same approach on brides who want soft definition and on clients who want a stronger evening eye. The products change. The logic does not.
If I wouldn’t put it on a bride, I won’t tell you to put it on your face.
Clean edges and controlled pressure are the parts I refuse to skip.
— Simone
No notes yet — write the first one.